20

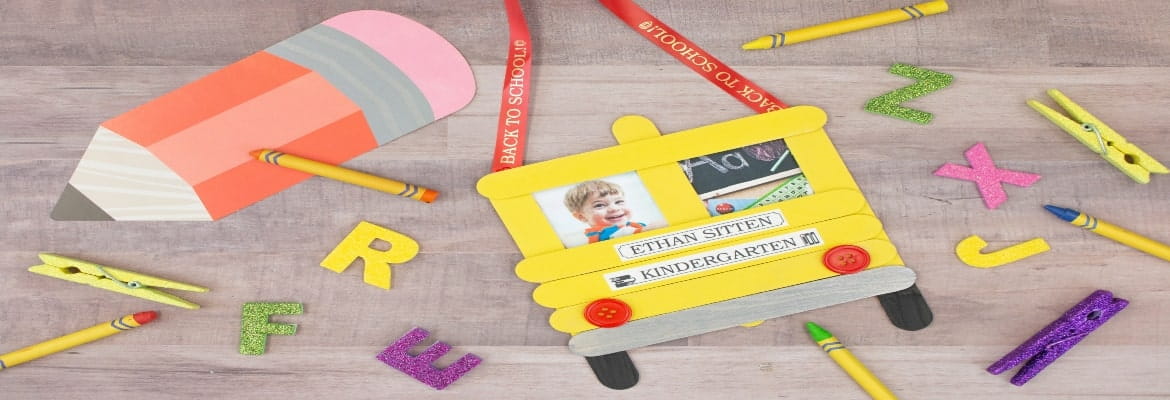
Back to School Bus Frame

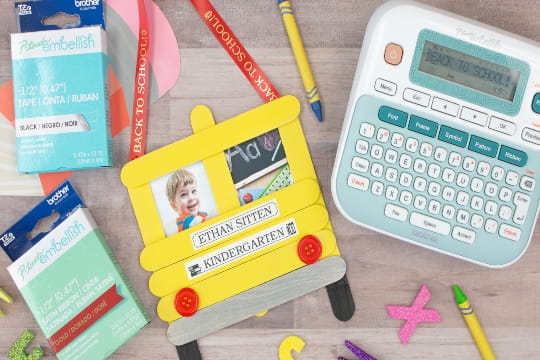
Make this year's first-day-of-school photo extra memorable by creating this adorable frame and personalizing with P-touch Embellish. Follow the steps below to create your own! 
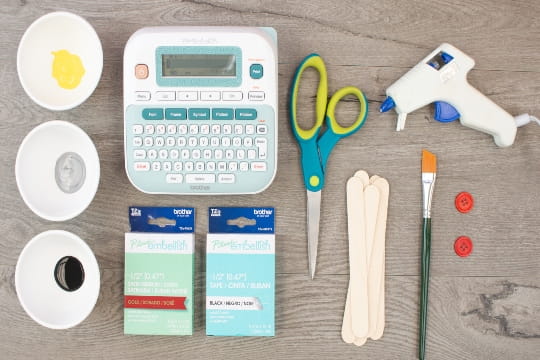
Materials:


Step 1:

  • Paint 7 of your popsicle sticks yellow, these will create the frame for your bus. Paint 1 of your popsicle sticks gray this will be the bumper for your bus.
  • To create the frame, use 3 yellow popsicle sticks and your gray popsicle stick and glue them in the corners to create a square. Be sure to have the yellow/gray side facing out. The yellow popsicle sticks will be the top and sides and the gray will be the bottom. Place the top yellow popsicle stick face down and glue the two sides in the corners first. When gluing the gray popsicle stick flip the project over and leave a little room at the bottom so you can paint the space black for the wheels.

Step 2:

  • You can now glue 3 yellow sticks above the gray popsicle stick. Flip the project to the back and glue your final yellow popsicle stick down the middle with the yellow paint facing out, this makes a space for your windows.
  • On the front side paint the space below the bumper on the two-side popsicle sticks black to make your wheels.
  • Cut your pictures to the size of the squares that have been created by the popsicle sticks. Using your paper/picture glue flip the project face down and glue around the edges of your photos so they are facing out towards the painted side. Glue your two buttons on the front of the project to make your taillights. Tip: We glued them to the popsicle stick second from the bottom.

Step 3:

  • Insert your Black on White label tape into your machine. Make sure your machine is reset by holding down shift and the backspace button. Choose Text&Format and press OK. Choose the Font button, choose font again and hit ok, then choose the font you like best. Tip: We used Brussels for this project.
  • Choose the frame button, for this label we used #83, and hit ok. Type your child’s name, hit the print button and then ok. Remove the backing and attach to the project. Tip: We used the first popsicle stick under the pictures but feel free to also put it on the top.
  • Make sure your machine is reset by holding down shift and the backspace button. Choose Text&Format and press OK. Choose the Font button, choose font again and hit ok, then choose the font you like best. Choose the frame button again, for this label we used #44, and hit ok. Type the grade your child will be in, hit the print button and then ok. Remove the backing and attached to the project. Tip: We used the second popsicle stick under the pictures but feel free to put it below the pictures if your put your first label at the top.
  • Insert your satin ribbon into your machine. Choose the Ribbon button and scroll to option 4 and hit ok. Choose the Font button, choose font again and hit ok, then choose the font you like best. Now, type your desired message. Tip: We add an exclamation point holding the shift & #1 key and for the symbol (choose symbol button, scroll to pictograph hit ok, scroll to school hit ok and we used #2 for the pencil).
  • Hit ok and choose your length Tip: We did 12” but feel free to make as short or long as you like. Flip the project to the back and glue your ribbon to the top corners with the text facing out make a loop so your can hang your frame.


Check Out These Featured Projects

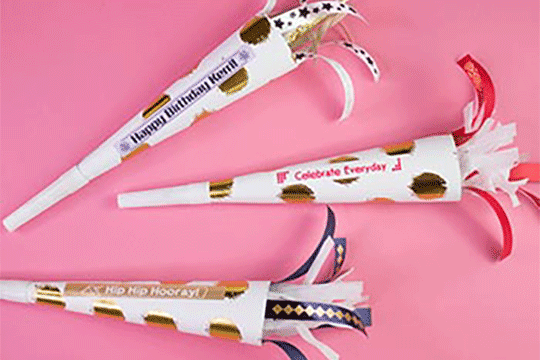
Labeled party horns with gold dots on pink background
Party Horns

Ready to be loud and proud with this DIY party horn? Stand out and personalize any occasion with the P-touch Embellish.
Bachelorette sidekick image
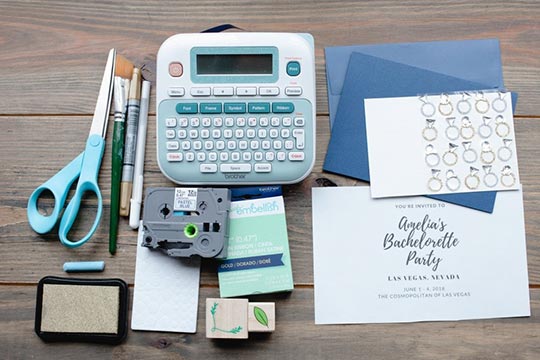
Bachelorette Invitation

When it's time to send out the invitations, set the tone for an extravagant weekend with a classy DIY invitation. This decorative invitation can be made using some basic crafting supplies and the Brother P-touch Embellish ribbon and tape printer.
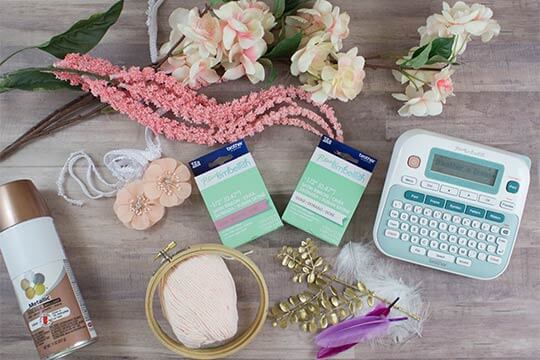
Dream Catcher

Dream Catchers are the perfect addition to any room and will hopefully bring sweet dreams! Add a personalized touch to your dream catcher with a few easy steps using the P-touch Embellish.

Mother of the Bride Corsage

The happiest day of her daughter's life can be expensive! This Mother of the Bride corsage is made of fine crepe paper to give the peonies a life-like look and a personalization with the Brother P-touch Embellish.

X